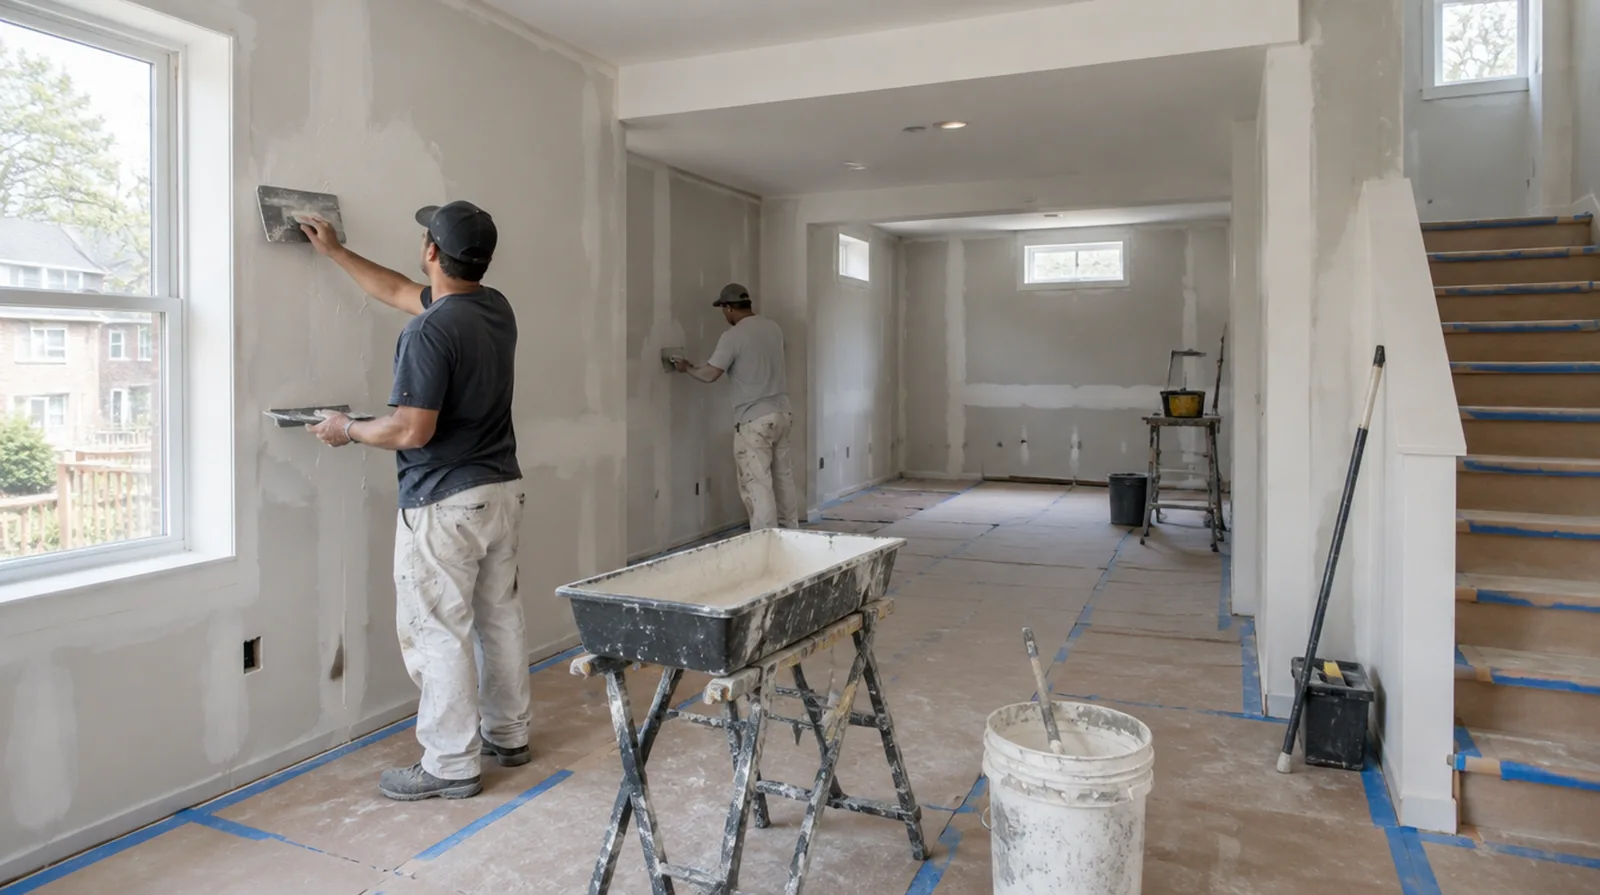
Assess the existing coating
A thin new finish depends on the strength of the coating that will remain underneath it. The assessment should distinguish a sound but uneven surface from one that is actively peeling. If scheduling is the main concern, separate hands on labor from drying intervals instead of treating every visit as a full day of active work.
Work around trim carefully
Protect the junctions around frames, baseboards and fittings while project planning how the new surface will meet them. Decide whether trim removal is needed or whether a neat stop against it is acceptable. At an edge beside built in furniture, state whether the obstruction will be removed or whether finishing stops at the section that can be reached.
Refine with minimal sanding
Careful application limits how much abrasive refinement is needed later. Even so, plan dust protection and extraction for the fine particles produced by broad surface work. For a wall receiving a decorative covering, provide its preparation requirements early adequate for the drywall finish to support that product.
Inspect using side light
Check the dried surface with light crossing it as well as light facing it directly. The review should reflect the conditions that will matter when the room returns to everyday use. When painting is outside the proposal, describe the remaining decorative preparation clearly so another contractor can price that stage accurately.
Check underlying movement
Surface refinement cannot stabilize framing movement or repair board that no longer holds securely. Recurring cracks ought to be investigated and reinforced appropriately before the finish is covered. Where occupants have dust sensitivity concerns, agree containment and cleaning measures before settling the way the room will be staged.
Define the smoothing target
Removing the visual effect of light texture is not the same task as straightening a badly uneven plane. The scope should describe what the skim is expected to improve and what remains outside that finish treatment. If scheduling is the main concern, separate hands on labor from drying intervals instead of treating every visit as a full day of active work.
Apply controlled thin layers
Build a refined surface with controlled applications rather than a heavy unsupported deposit. More than one pass may be necessary where the original texture creates deeper low points. Where a future fixture will be installed, coordinate any required backing while the cavity is accessible instead of reopening the completed wall.
Choose paint with the finish
A glossy decorative choice may reveal variations that a lower sheen makes less apparent. Talk through the final decorative plan before deciding how extensive the substrate preparation needs to be. If a household member is sensitive to dust, discuss containment and cleaning expectations before choosing how to stage the room work.
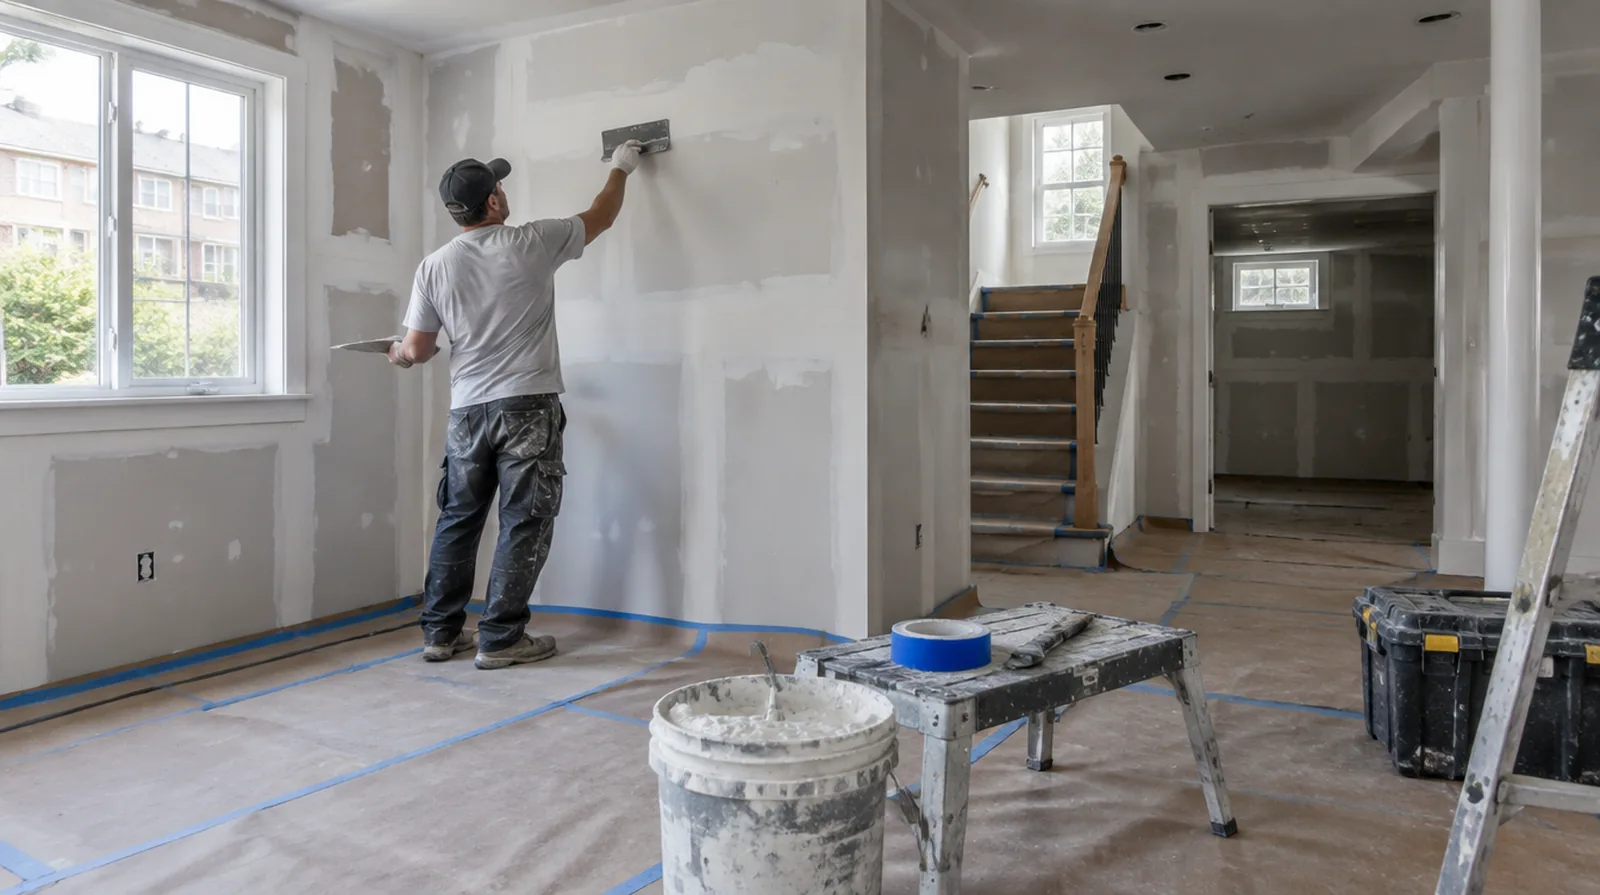
Stabilize torn paper
Exposed drywall paper can bubble when it receives wet compound without suitable preparation. Stabilize those paper defects with an appropriate treatment before beginning the broad skim application. At the handover inspection, review the finish from ordinary room positions using the lighting conditions that were agreed for the work.
Let each coat dry
Allow each application to become ready for the next under the interior conditions actually maintained. Disturbing soft material too early can undermine an otherwise careful smoothing pass. For a planned new wall mounted fixture, resolve its backing requirements while the cavity remains open instead of cutting into completed drywall later.
Project context in Germantown
End-unit townhomes have more exterior walls and windows, which can mean more seasonal cracking near openings. HOA rules in many Germantown villages limit where trucks can park and where debris can be staged.
Scope questions before finishing
For a small repair with extensive setup, compare the total scope instead of assuming the price should follow the hole dimensions alone.
Where a finished perimeter is prominent, decide whether trim stays in position or is removed before agreeing how the new surface meets that edge.
If the proposal requires return visits, identify the purpose of each stage and the intervals during which finishing material needs to remain undisturbed.
For walls beside bright windows, review a dry sample from an oblique angle as well as looking straight at the repaired surface.
When comparing competing estimates, make sure their protection, surface finish and disposal allowances describe equivalent work before comparing the final prices.
Where the wall meets fixed furniture, clarify whether removal is included or whether the finish will terminate at the accessible edge.
When reviewing the finished work, use the agreed lighting and natural room viewpoints so the assessment reflects the intended use of the space.
If a distinct painter completes decoration, agree the condition of the handed over surface and assign responsibility for small final corrections.
If the project is part of a larger remodel, settle the sequence with flooring, trim and cabinet work before setting a final finishing date.
When the history of a repair is uncertain, note when it became visible and whether its appearance has altered across differing seasons.
Where several contractors share the renovation, identify the inspection and handover milestones that determine when each following stage can proceed.
When a quote includes multiple visits, ask what happens during each stage and when the room needs to remain undisturbed between coats.
Explore the Germantown drywall overview for related options, or read the project planning information before arranging the next stage.
More planning details for Germantown
Many Germantown homes from the 1980s have been repainted several times, which affects how a patch blends. Winter forced-air heat in Germantown can dry rooms quickly and open seams along upper ceilings. Interior units share walls on both sides, so noisy work should be scheduled considerately.