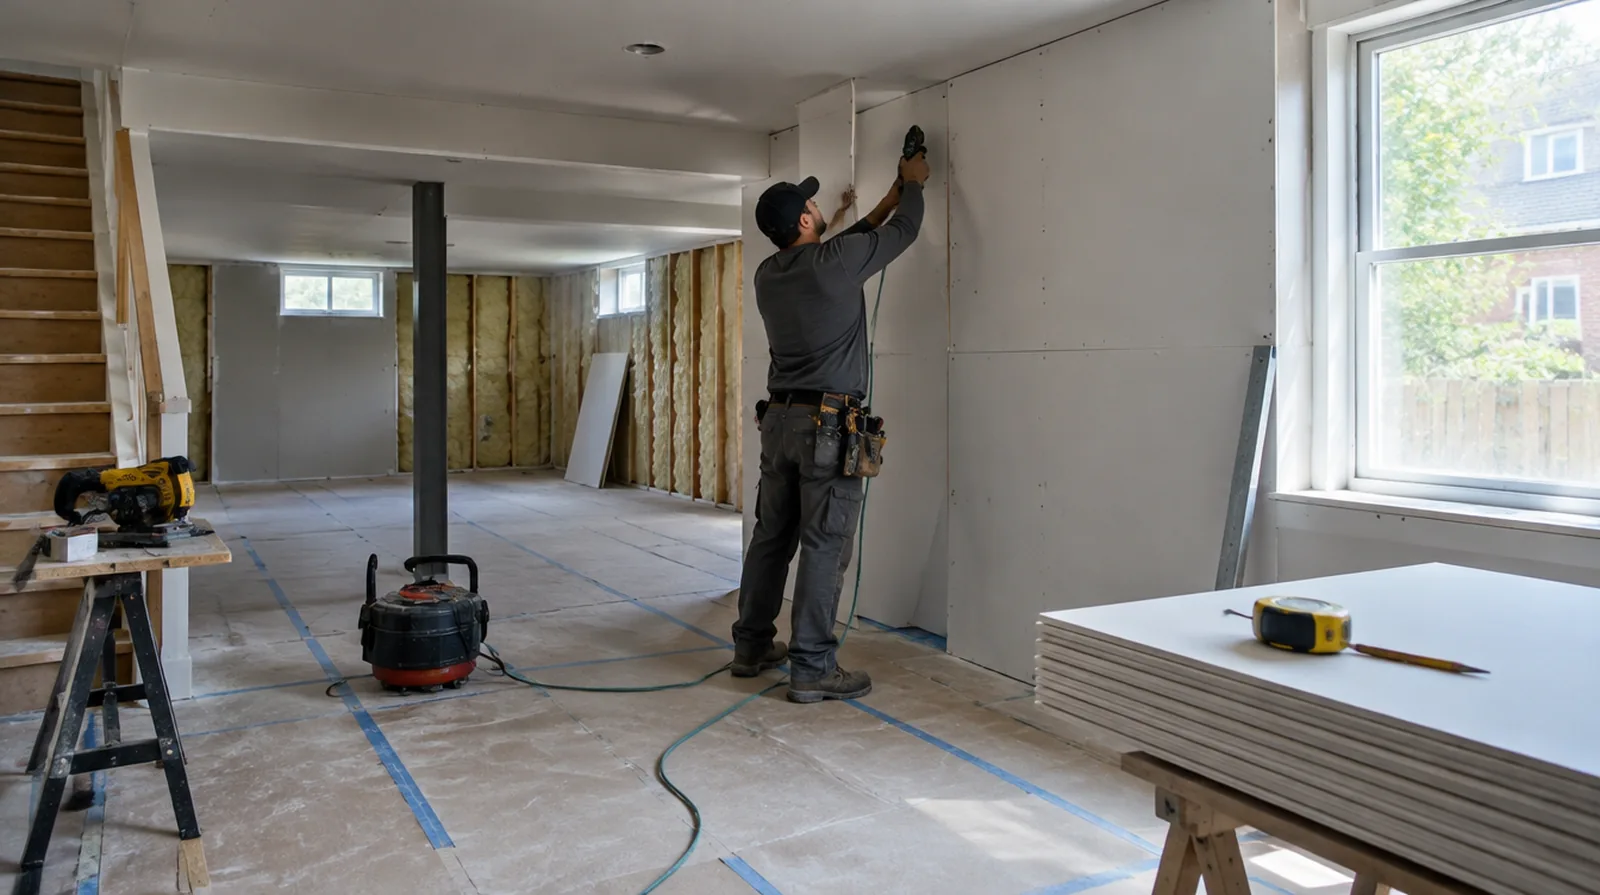
Identify the noise path
Voices passing through a shared wall are different from footsteps transmitted through a floor structure. Different transmission paths call for distinct assessments before a wall treatment is selected. If occupancy must resume on a certain day, include the later primer and paint stages in the timetable as well as drywall installation and finishing.
Finish the visible surface
Acoustic board still needs the suitable joint treatment and coating preparation. Complete that work without disturbing the details on which the sound control system depends. For a distinctive existing pattern, retain a reference sample or detailed picture to make the matching discussion more specific.
Include flanking paths
Sound can travel around a treated wall through ceilings, floors and adjoining partitions. A room level discussion helps explain why treating one surface may not resolve every noise complaint. If scheduling is the main concern, separate hands on labor from drying intervals instead of treating every visit as a full day of active work.
Review the whole assembly
Acoustic performance depends on framing, insulation, panel layers and perimeter details working together. Select a suitable tested or documented wall system instead of combining unrelated marketing specifications. If the ceiling or wall includes fittings, identify the person responsible for removing and reinstalling each item before the work begins.
Address air leakage
Small gaps around edges and service penetrations can undermine an otherwise substantial wall. Include compatible sealing wherever it is required by the chosen sound control assembly. When comparing competing estimates, make sure their protection, surface finish and disposal allowances describe equivalent work before comparing the final prices.
Consider cavity access
A wall already open for remodeling provides options that an intact occupied room may not. Describe any removal and later restoration needed to reach the relevant cavity or attachment points. If there is a fixed move in date, reserve adequate time for the coating stages after drywall work rather than counting only the installation period.
Avoid rigid bridges
Resilient components can lose effectiveness when fasteners or fittings create unintended solid connections. Check fastener and attachment details against the system guidance rather than judging only the visible wall. For a wall receiving a decorative covering, provide its preparation requirements early adequate for the drywall finish to support that product.
Evaluate added thickness
Adding layers changes the relationship between the wall face, fittings and adjoining trim. Allow for outlet, doorway and edge adjustments so the sound control work has a complete noticeable finish. At the handover inspection, review the finish from ordinary room positions using the lighting conditions that were agreed for the work.
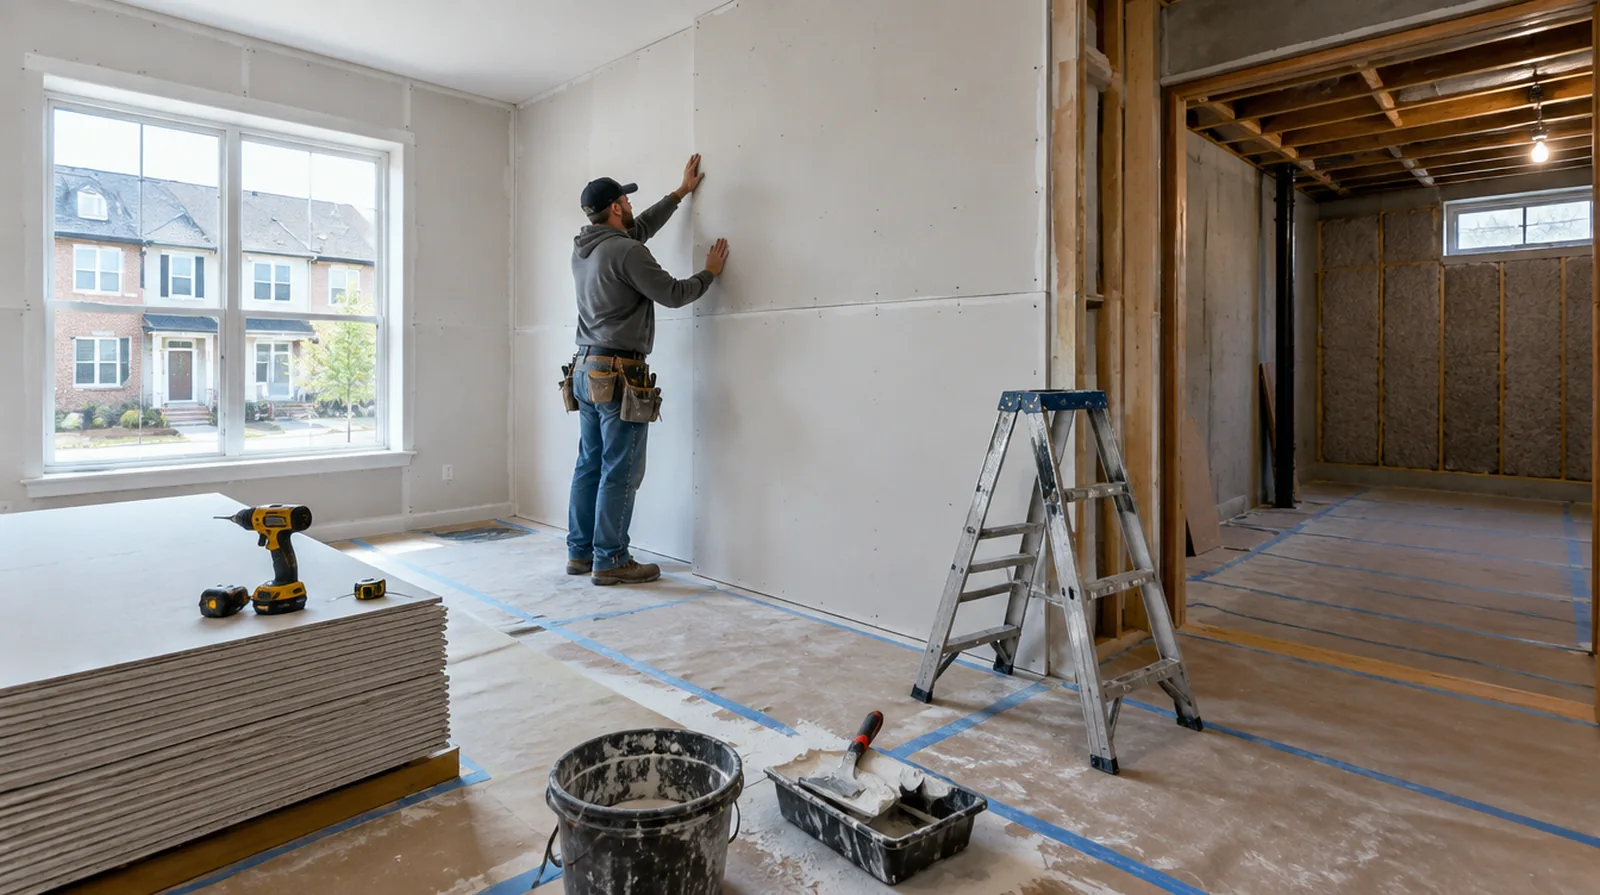
Coordinate electrical boxes
Opposing outlets and unsealed openings may create weak points in a separating wall. Electrical changes should be planned with the appropriate trade and within the required assembly details. For a repair that crosses several surfaces, measure the affected planes separately so the estimate can explain where each finishing treatment starts and stops.
Explain verification limits
A construction proposal is not the same as a field measured acoustic performance report. If a particular rating is required, discuss suitable design input and testing with an acoustic professional. Where occupants have dust sensitivity concerns, agree containment and cleaning measures before settling the way the room will be staged.
Project context in Germantown
Painting the full wall after a repair helps hide the edge between new compound and older layered paint. Narrow stairs between three levels of a townhome can make shorter sheets the practical choice.
Scope questions before finishing
When the decorative coating has been selected, tell the finisher its intended sheen and color while the substrate preparation standard is still being agreed.
When reviewing the finished work, use the agreed lighting and natural room viewpoints so the assessment reflects the intended use of the space.
For a surface carrying numerous paint layers, discuss whether differences in the retained profile or sheen justify decorating a broader area.
Before comparing two proposals, check that both include the same protection, finishing and cleanup boundaries rather than comparing totals alone.
If a room has only limited ventilation, discuss how the finishing materials can dry without disrupting comfort or spreading dust elsewhere.
Where occupants have dust sensitivity concerns, agree containment and cleaning measures before settling the way the space will be staged.
If the current finish is unusual, keep a small reference sample or a close photograph to support the discussion about blending and restoration.
If the proposal requires return visits, identify the purpose of each stage and the intervals during which finishing material needs to remain undisturbed.
For a repair that crosses several surfaces, measure the affected planes separately so the estimate can explain where each finishing treatment starts and stops.
At the handover inspection, review the finish from ordinary room positions using the lighting conditions that were agreed for the work.
At a ceiling or wall containing fittings, assign removal and reinstatement duties for the affected devices before repair access is needed.
For an initial assessment from pictures, provide an overall room photograph and a detailed view of the defect so both context and scale are apparent.
Explore the Germantown drywall overview for related options, or read the project planning information before arranging the next stage.
More planning details for Germantown
HOA rules in many Germantown villages limit where trucks can park and where debris can be staged. Many Germantown homes from the 1980s have been repainted several times, which affects how a patch blends. Leaving a small gap above the slab helps lower-level drywall in Germantown basements resist wicking.